")
")
")
")


?")


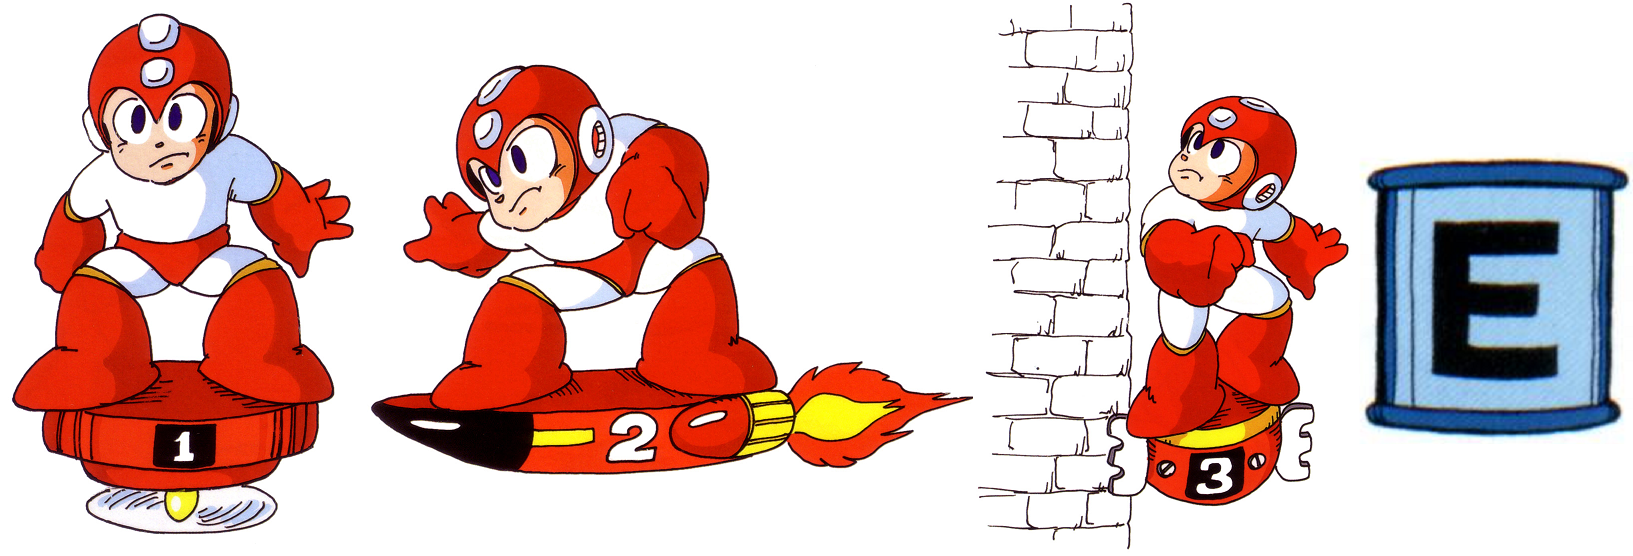
Before tackling the mad doctor’s first skull themed Wily Fortress (another series staple introduced in this game), let’s do a quick inventory of our weaponry and supplies. In addition to the eight power-ups you receive from the Robot Masters, you’ll also intermittently get several support items. Item-1 is received upon defeating Heat Man and consists of a basic levitating platform that assists in reaching high ladders and platforms. Item-2 is received after you beat Air Man and is a jet-propelled sled that helps cross vast distances of spikes. Item-3 is received once Flash Man is beaten and is a platform that latches onto a wall, slowly crawling up said wall. Despite the extensive use of all three items, Item-2 is the most popular and appears in the most outside media. There’s one other super iconic item introduced in this game that can be found spread throughout several stages – the E-Tank! This wonderful little item completely refills your life energy and keeps the fight going!
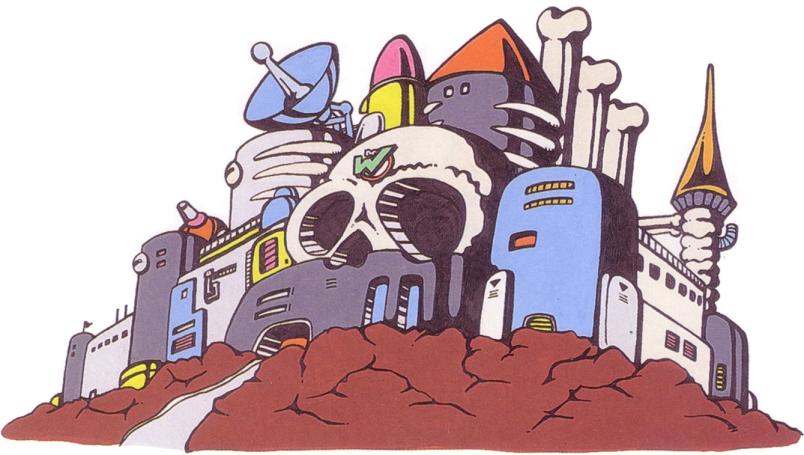
Let’s talk about the Wily Fortress for a minute. Consisting of six stages and containing four new bosses (not including the mad doctor himself), this is where players are put through the most grueling test of their skills. In addition to standing as a testament to platforming perfection, these stages also require perfect timing and patience. If you’re familiar at all with my past writings, you can already guess what happened the first dozen or so times I played through this portion. But, don’t let that discourage you, this is the final run! It’s time to blast down the doors of Dr. Wily’s sanctuary and end his threat once and for all!
Wily Stage 1 features what is arguably the most classic song in the entire Mega Man series. It’s been covered by just about everyone on YouTube and appears in all sorts of Mega Man media. Hell, it was used as the reveal music for his appearance in Super Smash Bros. Wii U and 3DS! And what a track it is, filling you with a sense of righteous vengeance that leaves you teeming with an outpouring of impending justice! Let’s storm the gate, using those support items to work our way through the outer yard, then scale the walls. Once you reach the entry way, things take on a decidedly different tone. You’re suddenly leaping from platform to platform in a mad dash to put some distance between you and a freakin’ dragon! Another highly memorable boss, the dragon forces you to balance timing and coordination, but eventually falls by your hand leading to the next part of the Fortress.
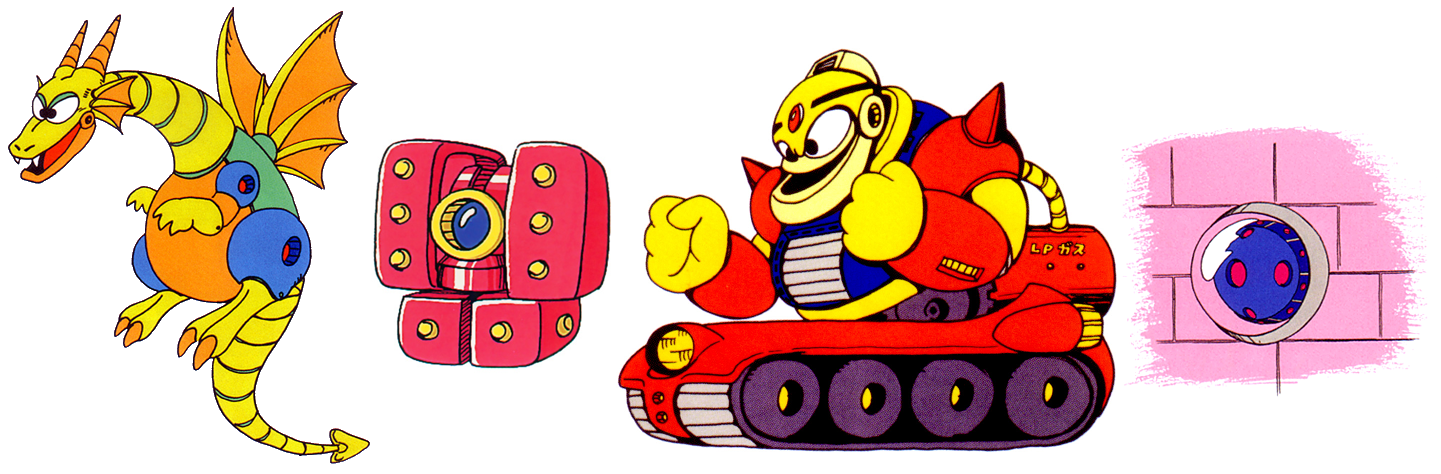
Stage 2 continues on with the inspirational soundtrack and sees the perfect use of Item-2 to avoid a huge spike pit lining the floor of the Fortress’ climate control. But don’t think that’s the end of it! You’ve climbed all that way up, now you have to work your way back down. This is another section that requires quick reflexes to survive, but at least there are no “insta-kill” lasers chasing you along the way. For those of you that don’t get that reference, everything will be explained shortly when we talk about how this game perfected action platforming. At the end of Mega Man’s tumultuous fall, we find him trapped in a small room with no ladders and no doors. Suddenly, the walls spring to life as the Picopico-Kun guard system launches out at you! Defeat all fourteen of these buggers and you’ll be one step closer to the man himself.
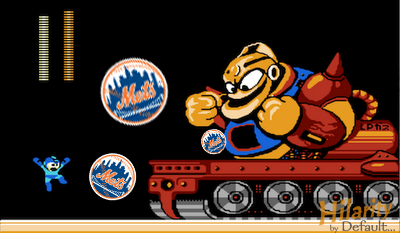
Hope your reflexes aren’t shot yet, because Stage 3 is another intense spike-filled area, but if you plan accordingly and grab those handy weapon energy refills specifically for Item-2, you just might make it through the Fortress’ well! Avoiding the robot-nomming fish that leap from the pits is one thing, but it’s avoiding the spike-ball lined ceiling and walls that really tests your nerve. Thankfully, this stage is pretty quick if you time it right and it brings you face-to-face with an old friend…enemy…fre-nemy? Whatever! It’s called the Guts-Tank, a gigantic tank designed to be an enlarged Guts Man on treads. Avoid his spitballs (cuz, y’know, they shoot out of his mouth?) and watch out for those Mets he releases from his chest.
Blast him right in the kisser and prepare yourself for the horror that is Wily Stage 4. I don’t have nice things to say about this one, mostly because of how it shames me every single time I get to it! Using a combination of all three support items and Metal Blade, you have to work your way through the defensive corridors of the Fortress until you find your way to the boss room. More spikes, more timing, more of me realizing I suck at one of my favorite games of all time! What’s not to love?! Bah! Oh wait, it doesn’t end there though. This boss, the Boobeam Trap, requires strategy and cunning along with a buttload of Crash Bombers to destroy five separate laser turrets. Be super careful to pay attention because there can be so much happening on the screen at once that the graphics slow down and blink in and out of sight. Blow this damn room to pieces and let’s move on to my favorite part of every Mega Man game…the Boss Rush!
For those of you that don’t know, once you’ve completed all the stages and fought your way through the Wily Fortress, you’ll have to defeat all eight Robot Masters a second time. However, there’s one huge difference between this encounter and your first battle with these bosses… this time, you have all of their weaknesses and know how to defeat them! You can face them in any order you choose, but do your best to try and conserve your E-Tanks, especially since defeating each Robot Master drops a large health refill.
Oh yes, there’s one thing I should mention about the Boss Rush. This is an excellent opportunity to see what makes the Metal Blade so game-breaking. See, Bubble Man is already weak to this weapon, taking eight damage from each hit. But, did you know that Flash Man also takes eight damage from Metal Blade? That’s two more damage than from his listed weakness to the Crash Bomber! Wood Man takes four damage from it! Granted, it’s better to use Atomic Fire against Woodie, but still. Hell, even Heat Man takes two damage from Metal Blade. That’s four bosses that share a weakness to a single weapon.
However, there is one boss that is weaker to Metal Blade than any other Robot Master…Metal Man himself! I kid you not, the boss that controls this very weapon takes twenty-eight damage from a single hit! This means that Metal Man is the only Robot Master in the entire series that can be defeated by his own weapon. With that in mind, don’t go thinking that other Robot Masters are weak to their own weapons. In fact, using a particular power-up on the boss you received it from will actually heal some of them! Bubble Man, Flash Man, Heat Man, and Wood Man are all healed by their own weapons. If this logic applied to real life, our hospitals would be very interesting places…

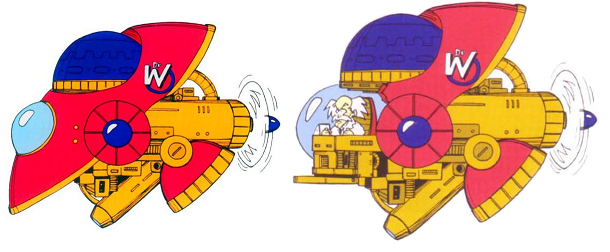
Once you’ve sent all eight bosses back to the scrap heap, prepare to face the madman behind it all. Piloting Wily Machine #2, the wild haired maniac launches arcing energy balls while piloting the craft back and forth across the screen. This form is incredibly weak to Atomic Fire or the Crash Bomber if you depleted your fiery supply during the Boss Rush. Once the health bar is depleted, the cockpit rips open to reveal Wily himself. He continues to move back and forth across the screen, but this time the energy balls he fires bounce across the stage towards you. It’s extremely difficult to avoid taking damage from the bouncing balls, so unload your remaining Crash Bombers into the cockpit and finish him off with the Air Shooter or Metal Blade. With the destruction of his latest diabolical machine, one would think the wannabe tyrant was defeated, but that’s not the case this time. Taking off in his UFO, Wily watches as Mega Man falls through the floor, plummeting into one final trap.
Reaching the end of the long, narrow corridor, Mega Man must navigate through one last tunnel, but be quick about it to avoid the constantly dripping acid nozzles. Hesitation at this point will result in a lot of damage. At the end of the hall, our hero enters one final boss room, where Wily leaps from his UFO and… transforms into some horrific alien? What the hell?! Quickly equip the Bubble Lead (anything else will simply heal the green skinned freak), the only power-up that can damage Wily’s intergalactic form and hit him with everything you’ve got!
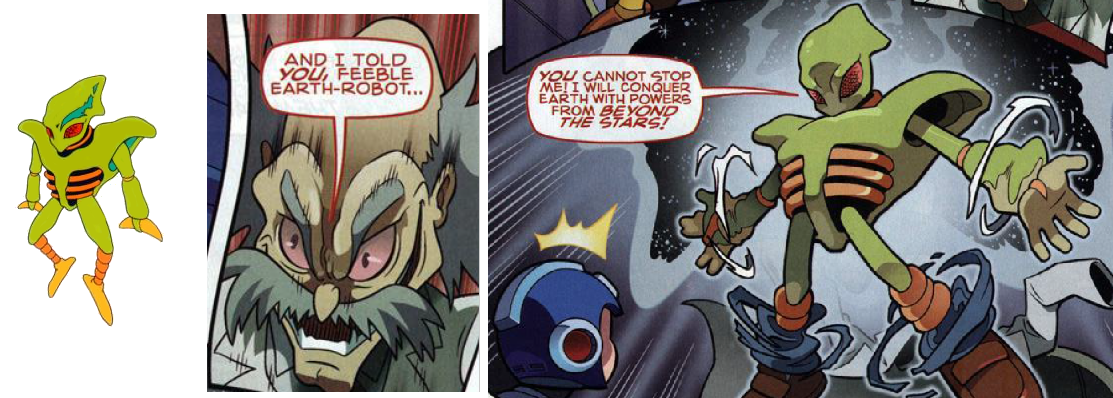
With that last shot, the room suddenly fills with light and we find the alien floating above Wily in a holographic control panel. It was an interesting little trick, but not good enough to stop the Blue Bomber. Once his final machine has been defeated, Wily falls from the controls, begging for mercy before being turned over to the authorities. We are then treated to a montage of our hero walking home. Looking up into the bright blue sky, he can finally hang up his helmet for good… or at least until Wily breaks out of prison and builds another team of robots in a mad bid to conquer the world.

There you have it, arguably the greatest entry in the Mega Man series and my all-time favorite. But, that’s just the Robot Masters, their weapons, and the story. We haven’t even scratched the surface of the improvements to stage development or the unbelievable soundtrack!
In my first Mega Man article, I talked about how this series helped to perfect the side-scrolling platformer. Well, this game only furthers that theory and it does so with several key examples. For instance, there’s Heat Man’s Stage, set in a magma tunnel or a volcano tube or, maybe it’s a lava sewer…? Anyway, this stage is infamous for a specific kind of trap – the disappearing blocks – and an extremely annoying, constantly respawning enemy, the Telly. We first encounter each of these challenges in a somewhat controlled environment in order to facilitate learning how to handle the problem. The first couple of Tellies to appear do so while you’re on a solid and stable surface. You’re able to see what these friggin’ things do and what kind of effect they have on you. What do they do? Well, in this case, they float towards you and knock you into shit. Soooooooooo, remember this because it’ll be very important very soon.
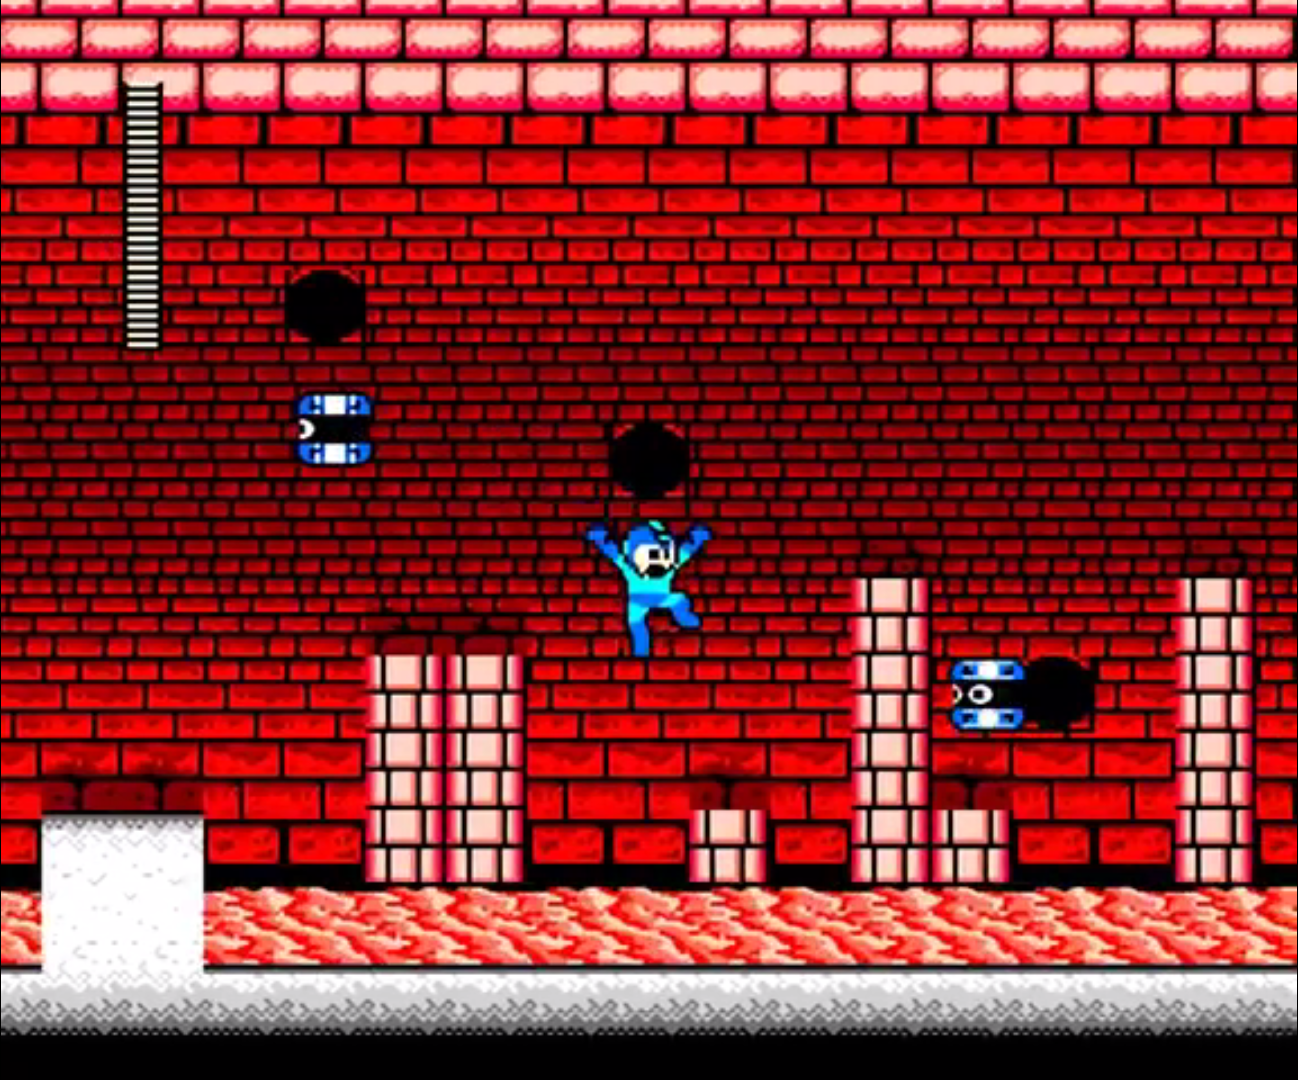
Leaping from that solid and stable surface, you find yourself on a series of tiny platforms hovering over a steady lava flow with more Tellies popping out of the walls. Time to leap-n’-shoot because all it takes is one of them hitting you and Mega Man gets an instantly fatal lava bath. Reach the end of that first hall, descend the ladder, and prepare for your lesson with those disappearing blocks. While standing on a platform above an indestructible Springer, you’ll notice two blocks suddenly appear overhead. Another block appears, beckoning you to jump aboard, because when the fourth block appears, the first two will fade away and you’ll fall, possibly into the waiting snap of that Springer. You quickly learn that you want to wait and watch as the blocks appear and disappear to memorize their pattern.
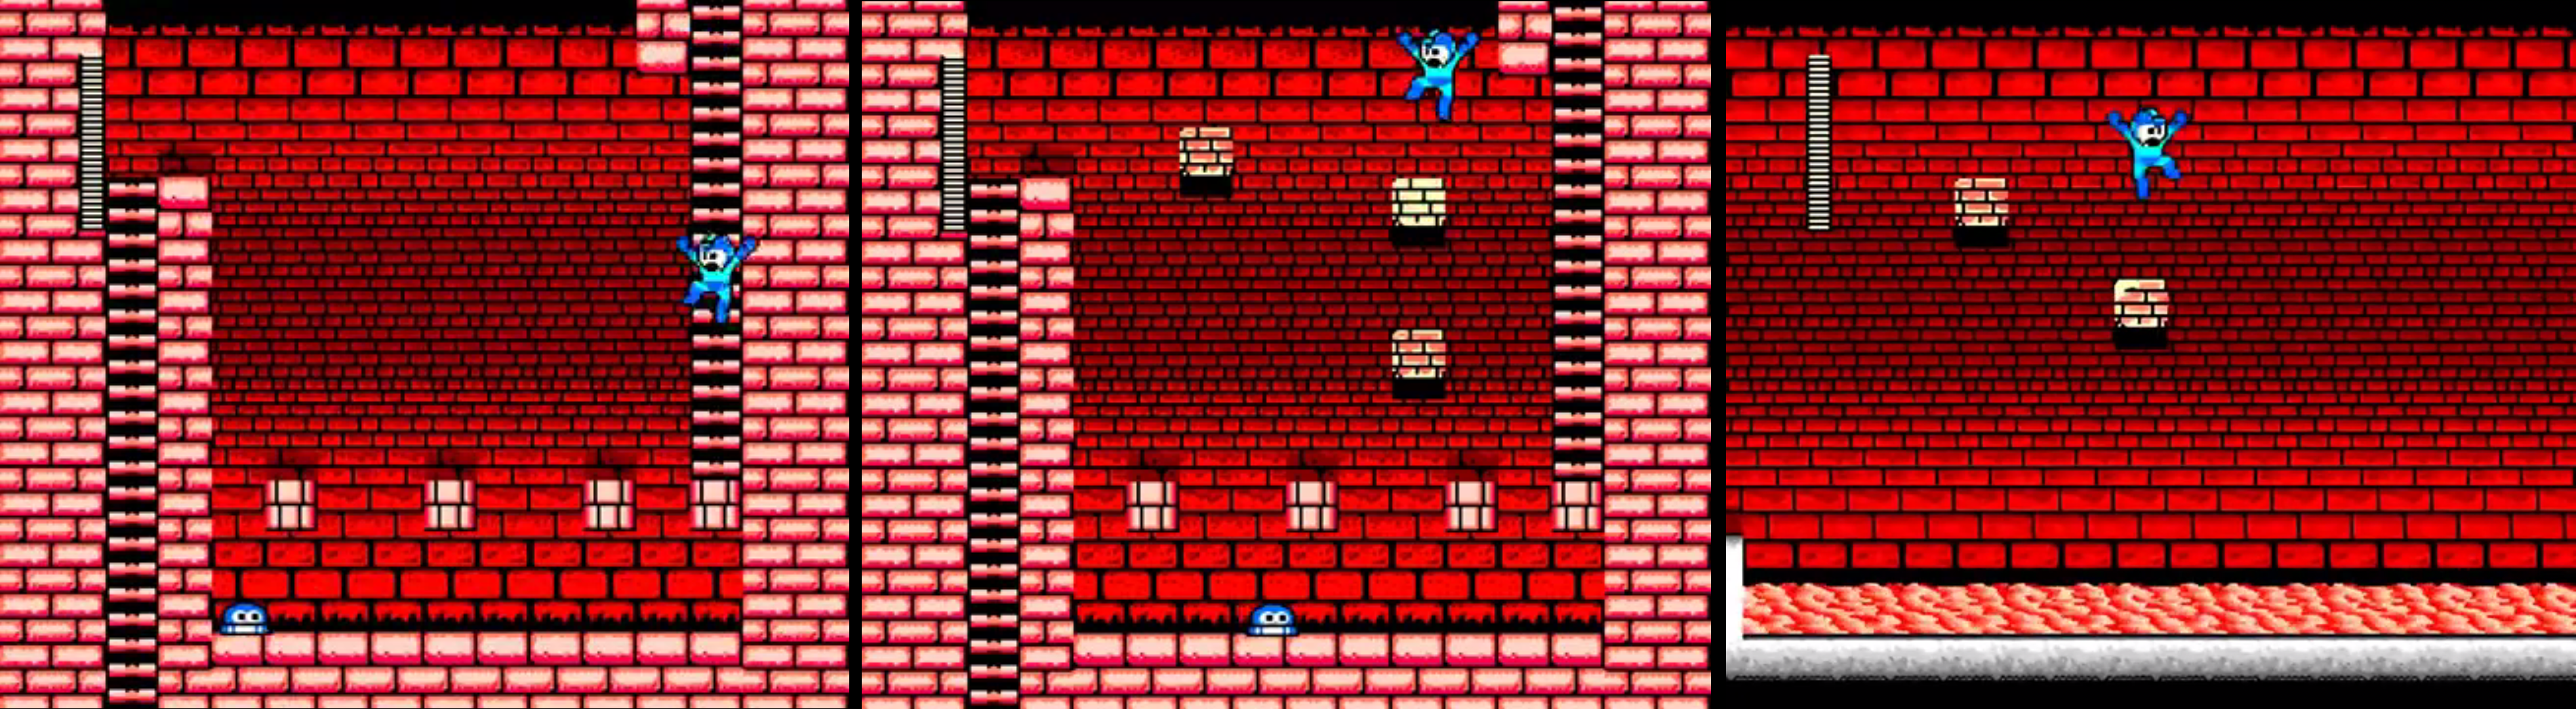
The hall just below this tiny training room combines what you’ve just learned with the threat of the Tellies and bottomless pits, so start jumpin’-shootin’-n’-memorizin’! Hope you learned how long each block lasts once it appears, because the final exam sees you back out over that lava flow while leaping from block to block without an opportunity to see what will appear where. Of course, you could just take all the fun out of it and use Item-2, but where’s the challenge in that?
Then there’s Flash Man’s stage, which is set in some kind of icy, crystalline mine or some such place. This stage presents an interesting challenge in that each step makes you slide, so timing during jumps and when encountering enemies is crucial. Once again, you’re given an opportunity to see the effect prior to enemy contact. This stage also presents you with several options in how you make your way to the boss room. As you approach the first fork in the road, you see that one path appears to be free of enemies while the other contains a Shotman. Sliding to the end of your platform, you’re able to see the Shotman’s attack pattern and decide if you’d rather fight him and anything else on his path or take a possibly easier route. Whichever decision you make, you’re able to see what each path actually holds and decide if you’d rather take that one over your current trail.
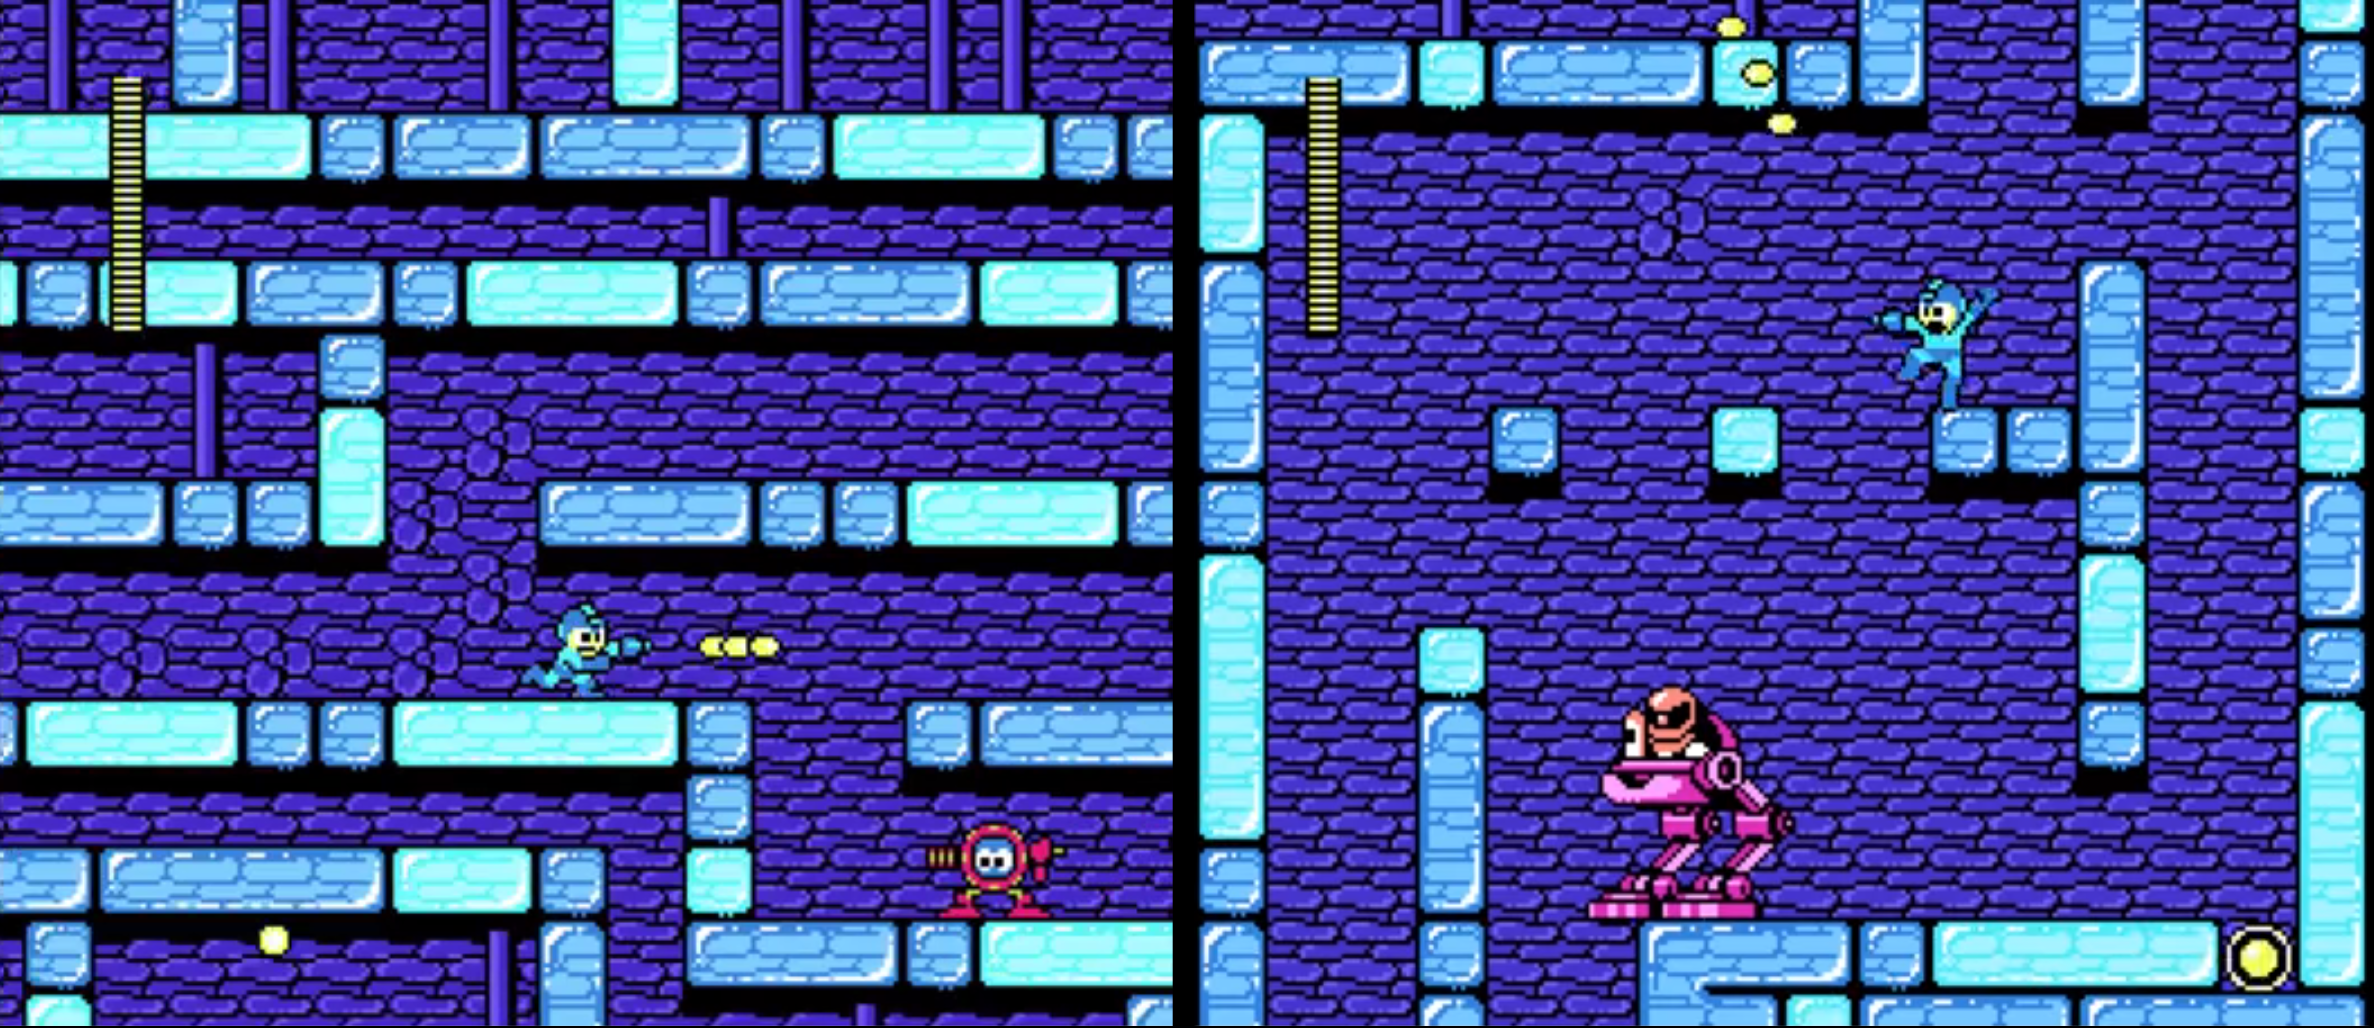
However you choose to make your way through the stage, you still won’t immediately be brought into direct enemy contact without first being given an opportunity to see how the enemies attack. This stage offers players the interesting decision between a full frontal assault or a stealthy one. Every path has benefits and challenges, but once you reach the portion where you have to leap down the winding corridor, you’re faced with the unknown. By now you should know how the stage enemies react and be ready to face them all while taking the sliding floors into account and knowing that there will be alternate routes around every challenge. The developers really wanted to leave how this stage is handled up to the players, making it your fault if you have to fight.
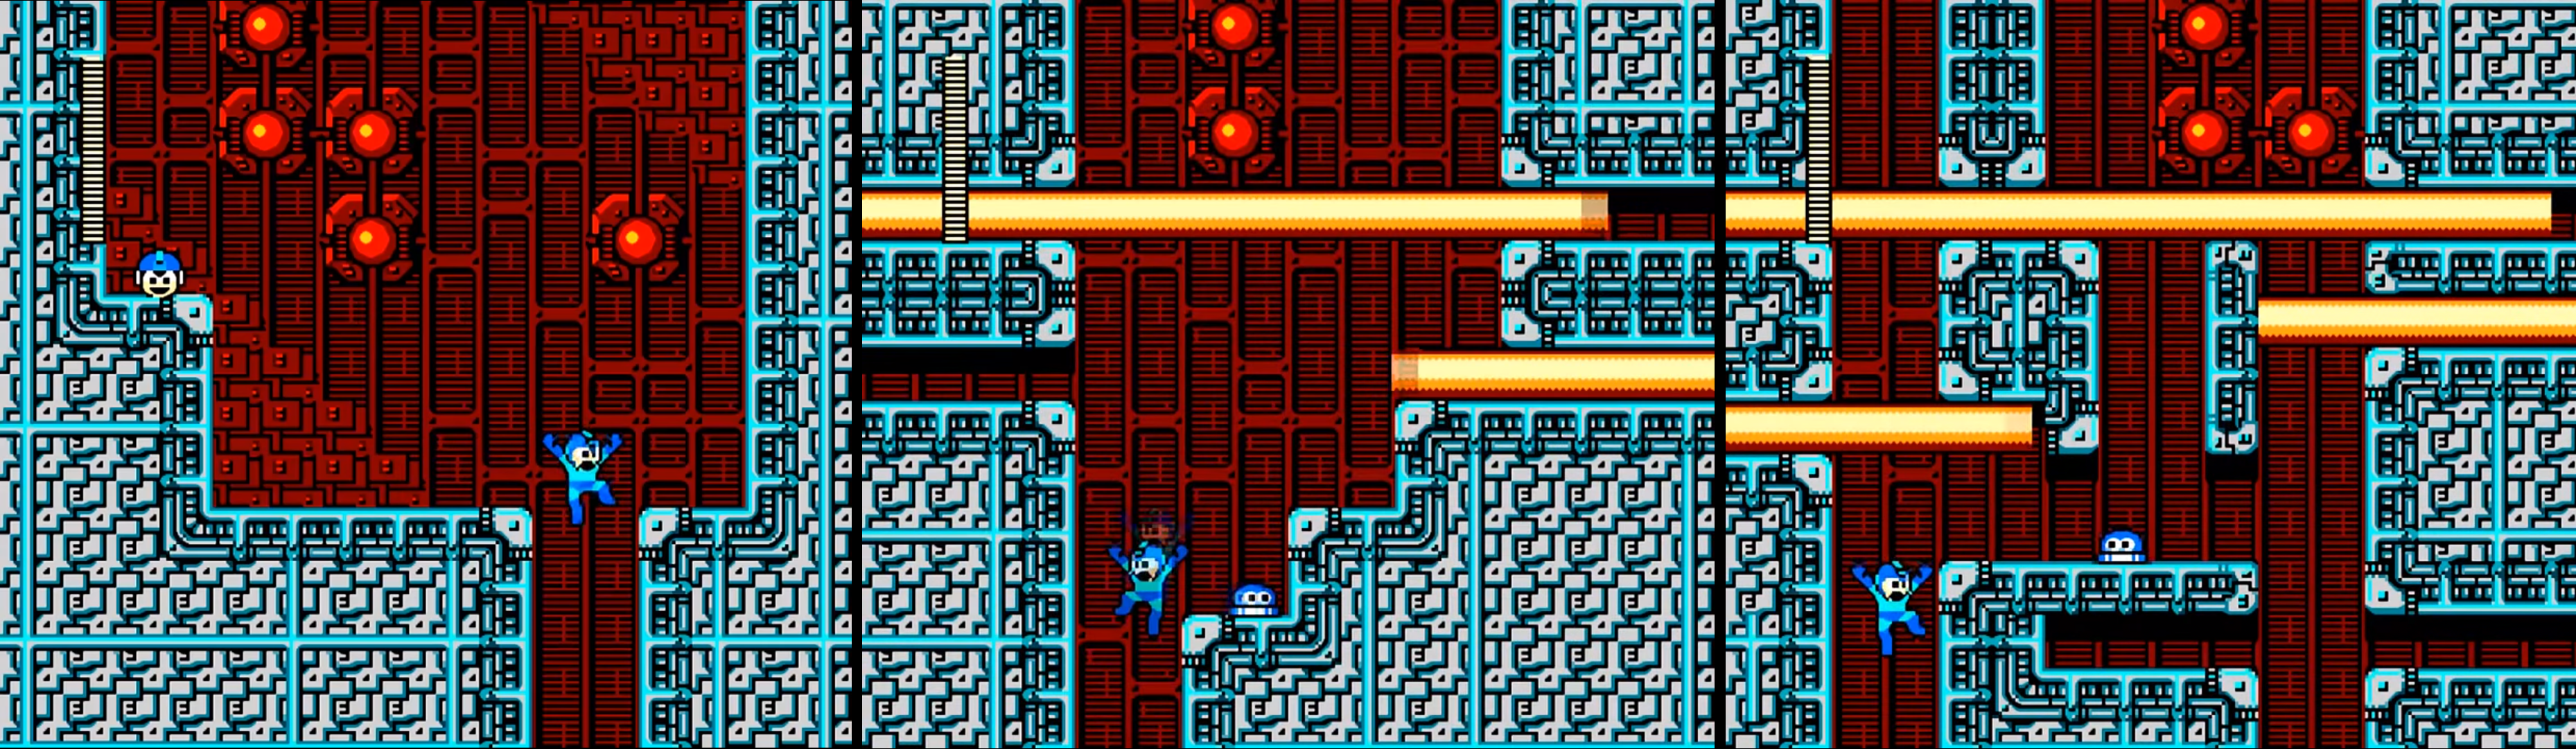
The last stage we’re going to look at is the most infamous and the one that gave me the absolute worst time. That’s right, we’re going to talk about Quick Man and his freakin’ corridors of death. I’ll do my best to refrain from going completely rabid while discussing this dickhead’s stage and its horribly brutal, confidence shattering traps, but no promises. This stage just pisses me off! As I said many paragraphs ago, Inafune intended for Quick Man to be an antagonist for Mega Man and wanted to warn players about the difficulty of this stage by making his select icon stand out. Well, no fear there Inafking, you did a damn fine job of it! I stopped keeping track of how many times I died during this stage before caving in and having to use the Time Stopper, but I know it was in the double digits. Anyway, enough about my failures, let’s talk about this jackass and move onto something that makes me happy.
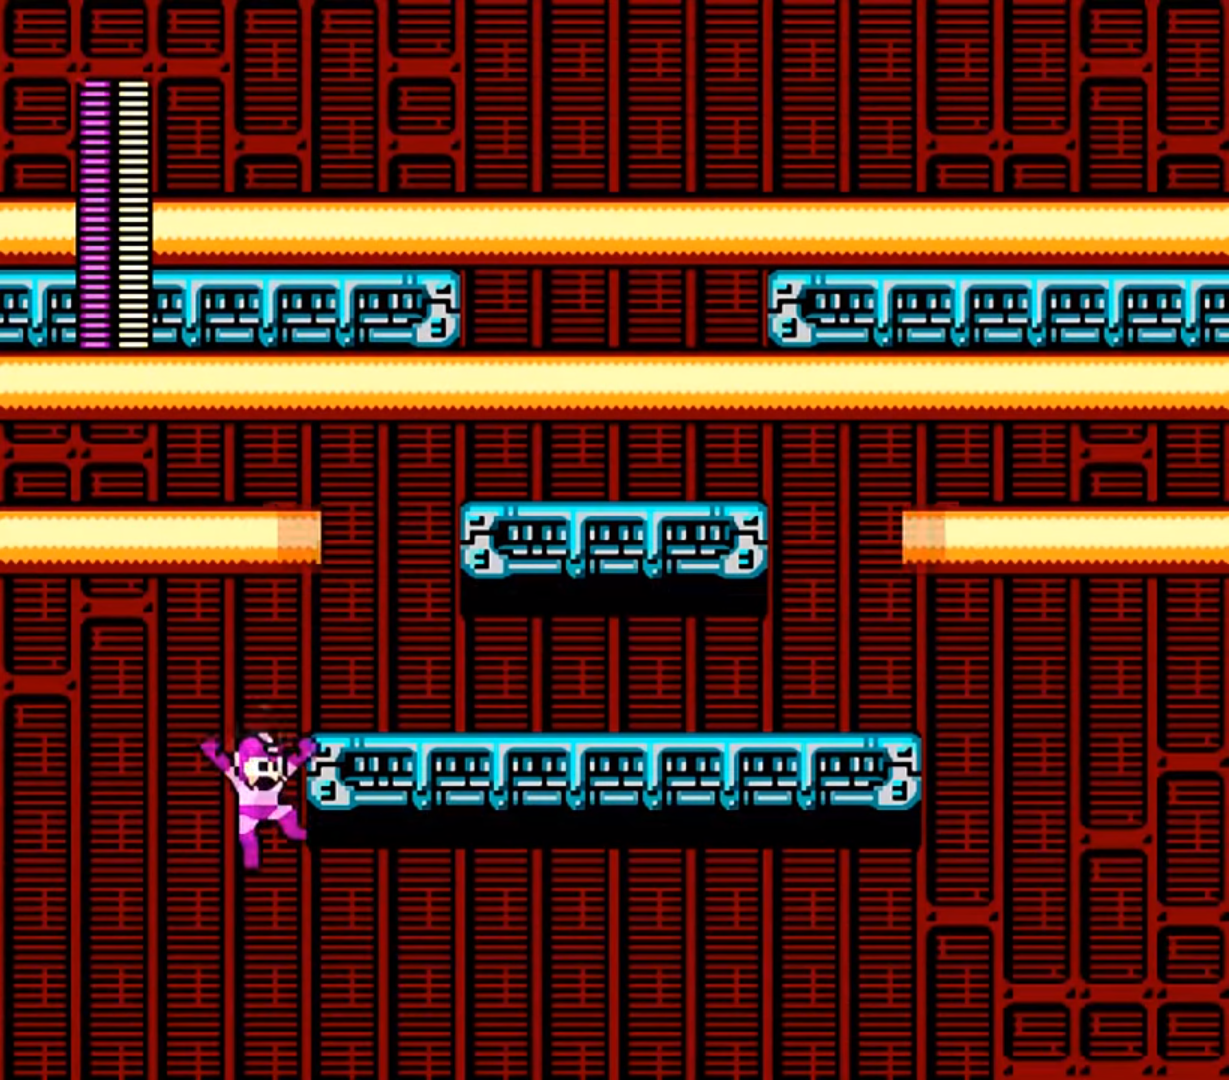
The stage begins by sending you down a corridor and revealing that the stage has a unique, funnel-like shape which guides you towards the next screen. This is an extremely important tidbit as the trap you’re about to encounter will be forever etched into your minds and remind you that an 8-bit game just schooled your ass! Working your way through one more room, you enter a wide corridor only to be greeted by these giant freakin’ laser beams that will instantly turn you into a fine red mist with a bluish tinge. We don’t really get an opportunity to see what these things can do before we encounter them, all we get is that monstrous sound they make, an overpowering sense of dread, and the shape of the stage screaming, “GO FASTER DAMMIT!!!!!!!!”
Lightning fast decisions are required and any hesitation results in immediate death. Just keep moving down and don’t bother trying to get the items you see, because even if you somehow get them, each precious millisecond spent retrieving said items only results in failure. Now, you do have the option of using the Time Stopper to survive this trap, but as it is Quick Man’s primary weakness, you better only use it as a last resort. Also, once you turn it on, you can’t turn it off until it runs out of energy. I was forced to do this and then spent thirty minutes trying to farm weapon energy only to end up with about 2/3 of a meter. A damned if you do, damned if you don’t decision if ever there was one. But, despite ALL of this, Quick Man’s stage still stands as an incredible example of excellent level design.
No really, I’m not being sarcastic! You’re guided in where to go without having to have someone point out what to do, you are able to see the solution to the trap (albeit with a shit ton of trial and error), and the manner in which you achieve the solution is up to you. All of this makes for an incredible piece of stage design. I just don’t like to admit it…because I’m petty…and Quick Man’s an asshole. There, I said it. Moving on!

")
")
")
")


?")

